cnc machine manual
Category : Manuals
A CNC machine manual serves as a comprehensive guide for operating and programming CNC machines, detailing G-codes, M-codes, safety protocols, and setup processes to ensure precise machining operations and user safety.
Overview of CNC Machines
CNC (Computer Numerical Control) machines are automated manufacturing tools guided by programmed instructions to perform precise cutting, drilling, and shaping tasks. These machines integrate advanced computing, mechanical engineering, and software to execute complex operations with high accuracy. Widely used in industries like aerospace, automotive, and electronics, CNC machines enable efficient production of intricate parts. Their ability to operate with minimal human intervention makes them indispensable in modern manufacturing.
Importance of CNC Machine Manuals
CNC machine manuals are essential for safe and efficient operation, providing detailed instructions for programming, setup, and troubleshooting. They ensure operators understand safety protocols, G-code and M-code functions, and proper machining techniques. These manuals are crucial for maintaining machine accuracy, preventing errors, and optimizing production. They serve as a cornerstone for both novice and experienced operators, ensuring consistent and reliable CNC machine performance across various industrial applications.
Safety Precautions for CNC Machine Operation
CNC machine manuals emphasize safety protocols to prevent accidents and ensure proper operation. They guide operators on best practices and emergency procedures for secure machining environments.
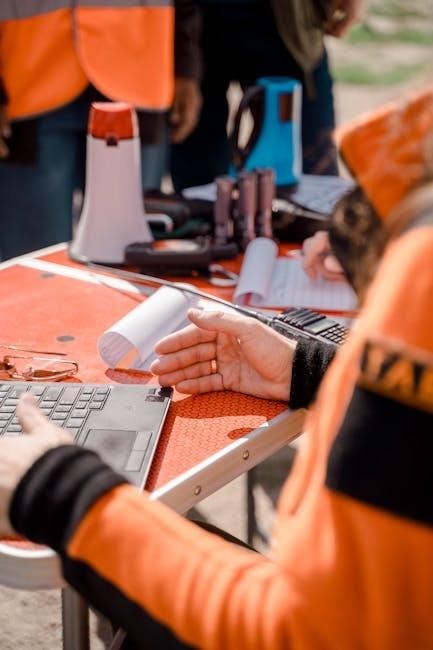
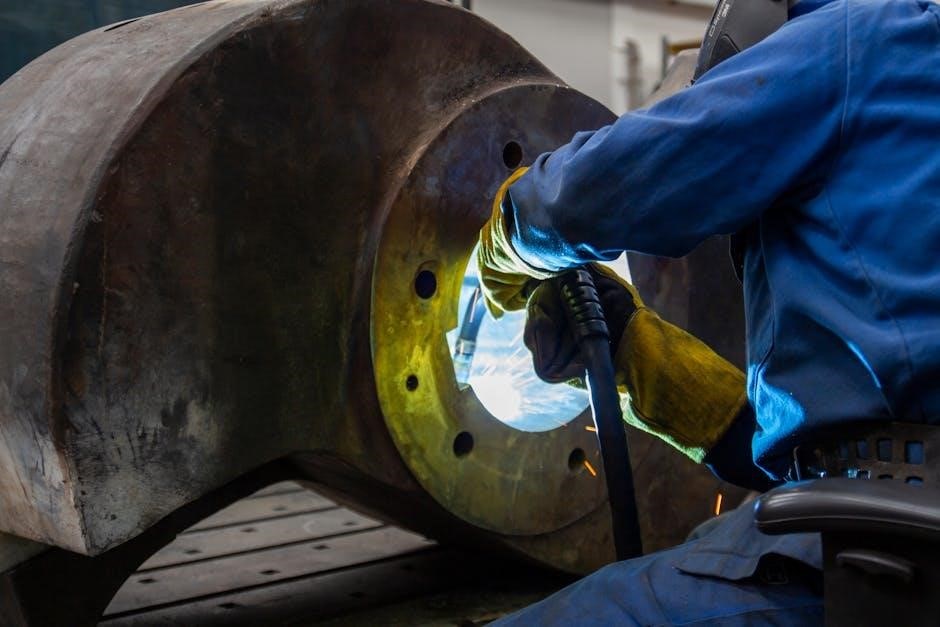
Personal Protective Equipment (PPE)
Proper PPE is essential for CNC machine operation. Safety glasses protect eyes from debris, while earplugs prevent hearing damage. Steel-toe shoes and gloves safeguard against physical injuries. Operators must wear PPE at all times near machinery to minimize risks and ensure compliance with safety protocols outlined in CNC manuals. Regular checks of PPE condition are recommended to maintain effectiveness.
Machine Safety Features and Protocols
CNC machines are equipped with safety features like emergency stop buttons and safety interlocks to prevent accidents. These protocols ensure the machine halts operation if unauthorized access or malfunctions occur. Guards protect moving parts, and alarms alert operators to potential hazards. Regular inspection of these features is crucial to maintain operational safety and prevent downtime. Adhering to these protocols ensures the well-being of operators and optimal machine performance.
Understanding G-Code and M-Code Programming
G-codes control tool movements and machining operations, while M-codes manage machine functions like coolant and spindle control. Together, they form the backbone of CNC programming, ensuring precise execution of commands.
Definition and Function of G-Codes
G-codes are standardized instructions that guide CNC machines to perform specific operations, such as moving axes, turning, or drilling. They define precise toolpaths and machining actions, ensuring accuracy and efficiency. Common codes include G00 for rapid positioning and G01 for linear interpolation. While standardized, variations exist across manufacturers, making it essential to refer to specific machine manuals for compatibility and optimal performance.
Definition and Function of M-Codes
M-codes are auxiliary instructions used in CNC programming to control machine actions beyond tool movement. They manage functions like coolant activation, spindle speed, and tool changes. For example, M03 starts a clockwise spindle rotation, while M09 stops coolant. These codes enhance machining efficiency by automating auxiliary operations, ensuring smooth workflow and reducing manual intervention during production processes. Proper use of M-codes is crucial for optimal CNC machine performance and safety.
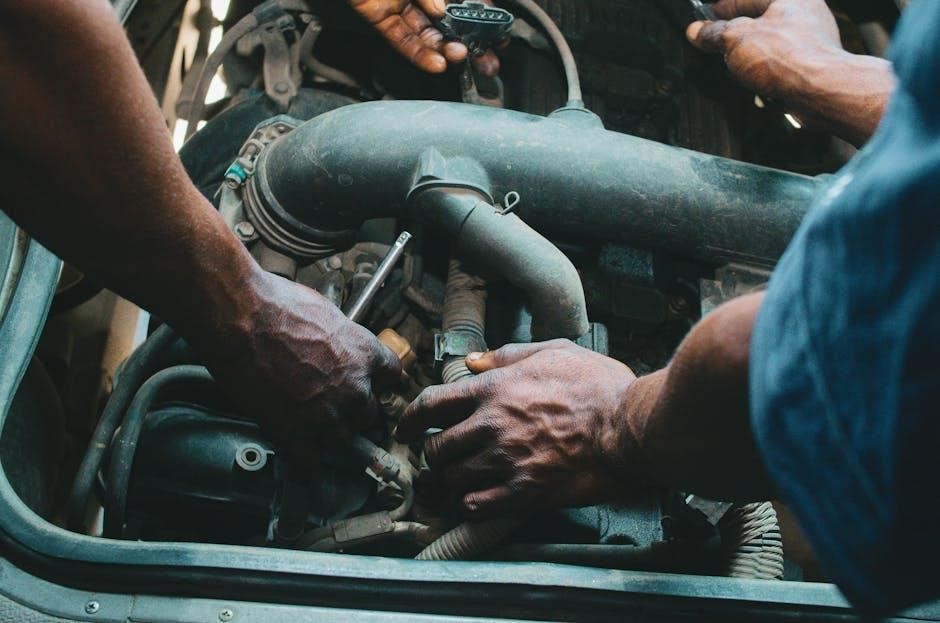
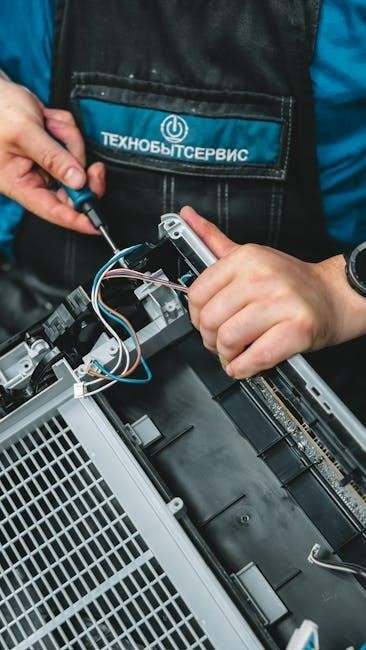
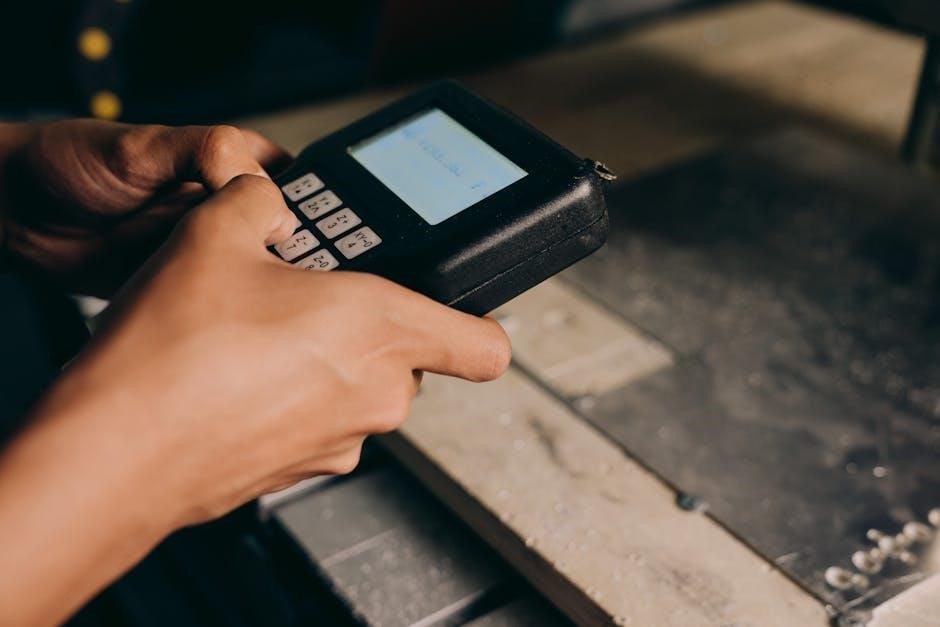
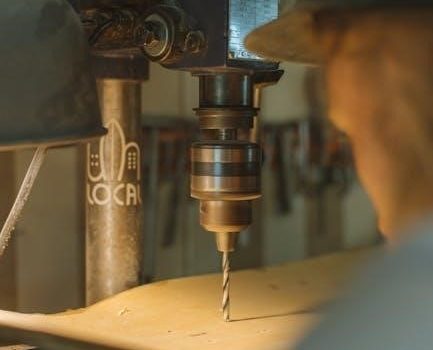
Basic machining operations include fundamental processes like milling and turning, essential for shaping workpieces. These operations form the core of CNC manufacturing, ensuring precision and consistency in production. Surface milling involves removing material from a workpiece to achieve a flat or contoured surface. CNC machines execute this using programmed G-codes. The process ensures high precision and finish. Operators must input correct parameters to avoid errors. Proper setup and tool selection are critical. This operation is fundamental for creating smooth surfaces in various materials, meeting dimensional accuracy and quality standards. Turning operations on CNC machines involve rotating a workpiece while a cutting tool moves along its surface to create cylindrical or tapered features. G-codes and M-codes guide the spindle and tool movements. Common operations include facing, turning, and boring. Precision and efficiency are achieved through programmed instructions. Proper setup and tool selection ensure accurate results. This process is essential for producing symmetrical and complex shapes in metalworking applications. CNC machine setup involves powering on the system, initializing controls, and performing a power-on self-test (POST). Proper tool setup and workpiece alignment ensure accurate machining operations. Powering on the CNC machine begins with pressing the power supply button, followed by the system executing a self-test. The control panel lights up, and the screen displays the operational interface. The machine performs axis homing to establish reference positions. The system initializes all components, ensuring proper communication and readiness for programming or operation. Safety checks run in the background to prevent accidents during startup. Proper tool setup involves installing the correct tool in the spindle and ensuring it is securely fastened. The workpiece is then aligned using precision measuring tools and clamped onto the table. The CNC system is programmed with the tool offsets and workpiece coordinates to maintain accuracy. Alignment must be precise to ensure the machining process meets specifications and prevents errors during operation. CNC machines operate in two primary programming modes: incremental and absolute. Incremental mode uses relative coordinates, while absolute mode uses fixed, predefined coordinates for precise machining operations. Incremental programming mode uses relative coordinates, where each movement is based on the previous position. This mode is ideal for creating symmetrical patterns or repeating operations, as it allows for easy mirroring or duplication of tool paths without recalibrating the origin. It simplifies programming for tasks like drilling bolt circles or milling symmetrical features, enabling efficient and precise machining operations. This mode is particularly useful for complex geometries requiring relative positioning. Absolute programming mode uses fixed coordinates, with all movements referenced from a fixed origin point. This mode is ideal for complex, precise machining operations where exact positioning is critical; It minimizes errors in large or intricate projects by ensuring consistency in tool paths. Absolute mode is commonly used for multi-axis machining and advanced geometries, offering reliability and accuracy in CNC operations. It is preferred for high-precision manufacturing tasks. Tool Radius Compensation adjusts the cutting tool’s path to account for its diameter, ensuring precise machining of complex shapes and profiles. It enhances accuracy and efficiency. Programming Tool Radius Compensation involves defining tool diameters in the CNC program to adjust the cutting path. This ensures accurate dimensions by offsetting the tool’s position. Operators input specific values, and the machine calculates the correct path. Proper programming prevents errors and improves surface finish. It’s crucial for achieving precise results in milling and turning operations. Accurate measurement of the tool diameter is essential for CNC machining. Using precision instruments, operators measure the tool and input the data into the CNC system. This ensures the machine compensates correctly, maintaining dimensional accuracy. Proper input prevents tool collision and ensures precise cuts. Regular calibration of measuring tools is recommended to uphold consistency and quality in machining processes. CNC machines consist of key components such as the control panel, spindle, and axis motors. Each part plays a crucial role in precise and efficient machining operations. A CNC machine comprises essential components like the spindle, which holds cutting tools, and axis motors for precise movement along X, Y, and Z axes; The control panel serves as the interface for programming and monitoring operations. Additional components include coolant systems to prevent overheating, tool changers for efficient tool switching, and sensors for real-time feedback. These parts work harmoniously to ensure accurate and efficient machining processes. The control panel is the central hub for CNC machine operation, allowing users to input programs, monitor processes, and adjust settings. Through the interface, operators can execute G-codes and M-codes, view real-time data, and troubleshoot issues. It also facilitates parameter adjustments and diagnostic checks, ensuring smooth and efficient machining. The interface simplifies complex operations, making it easier for operators to manage the machine effectively. The CNC machining process begins with program import and initialization, followed by tool setup and material alignment. The machine executes the program, performing precise cuts and operations, ensuring high accuracy and efficiency in manufacturing. The CNC machining process begins with program import, where the CNC code is loaded into the machine’s control system. Following system initialization, the machine performs a series of checks to ensure all components are operational. Once initialized, the tool setup and workpiece alignment are verified. The program is then executed, with the machine performing the machining operations as dictated by the code. After completion, the machine typically performs an origin return operation to reset its position. The origin return process resets the CNC machine’s spindle and tool to their home positions after completing a program. This ensures accurate positioning for the next operation. The machining cycle involves executing G-code instructions, performing tool changes, and monitoring the cutting process. The machine follows a precise sequence, from starting the spindle to moving the tool along the programmed path, ensuring the workpiece is machined to the specified dimensions. Regular maintenance, including cleaning and lubricating components, ensures optimal performance. Troubleshooting involves diagnosing issues like alarm codes, faulty sensors, or incorrect programming to restore machine functionality efficiently. Regular maintenance is crucial for extending CNC machine lifespan and ensuring precision. Clean and lubricate moving parts, check coolant levels, and inspect tools. Update software and backup programs to prevent data loss. Schedule professional servicing annually to address hidden issues. Monitor spindle and axis alignment for accuracy. Replace worn components promptly to avoid downtime. Keep the work area clean to reduce contamination risks.
Common CNC machine issues include axis misalignment, tool wear, and software glitches. Diagnose by checking error codes and sensor feedback. Inspect tools for wear and replace as needed. Verify program correctness and parameter settings. Perform homing cycles to realign axes. Run diagnostic tests on spindle and coolant systems. Consult the manual for specific error code solutions and follow structured troubleshooting steps to resolve problems efficiently. Mastering CNC machine operations requires a deep understanding of manuals, safety protocols, and programming. Regular maintenance and adherence to guidelines ensure efficiency, productivity, and user safety always. This manual provides a detailed guide to CNC machine operation, covering safety protocols, G-code and M-code programming, machining operations, and maintenance. It emphasizes the importance of understanding machine components, setup processes, and troubleshooting techniques. Key concepts include tool radius compensation, programming modes, and regular maintenance to ensure optimal performance and safety. By mastering these principles, operators can efficiently utilize CNC machines for precise and reliable machining operations. Always follow safety guidelines, use proper PPE, and ensure the machine is initialized correctly before operation. Regularly maintain equipment, check tool diameters, and verify G-code programs to prevent errors. Understand programming modes and utilize tool radius compensation for accuracy. Keep work areas clean and consult manuals for troubleshooting. Continuous learning and adherence to protocols ensure efficient, safe, and precise machining operations, maximizing productivity and minimizing downtime.Basic Machining Operations
Surface Milling Operations
Turning Operations on CNC Machines

CNC Machine Setup and Initialization
Power-On and System Initialization
Tool Setup and Workpiece Alignment
Programming Modes for CNC Machines
Incremental Programming Mode
Absolute Programming Mode
Tool Radius Compensation in CNC Machining
Programming Tool Radius Compensation
Measuring and Inputting Tool Diameter
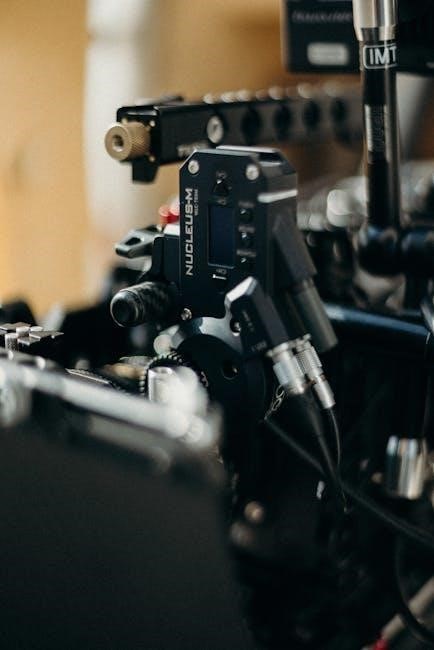
CNC Machine Parts and Their Functions
Key Components of a CNC Machine
Role of the Control Panel and Interface
CNC Machining Process Overview
From Program Import to Execution
Origin Return and Machining Cycle

CNC Machine Maintenance and Troubleshooting
Regular Maintenance Tips
Common Issues and Diagnostic Steps
Best Practices for CNC Machine Operation