cuisinart frozen yogurt ice cream and sorbet maker instructions
Category : Instructions
Cuisinart offers diverse models – ICE-70, ICE-21, ICE-30BCU, and ICE60W – enabling delightful homemade frozen treats․ Enjoy crafting unique, flavorful desserts easily!
Overview of Cuisinart Models (ICE-70, ICE-21, ICE-30BCU, ICE60W)
Cuisinart presents a range of frozen dessert makers to suit various needs․ The ICE-70 is a premium Gelateria series, offering a larger 2-quart capacity․ The ICE-21 is an automatic model, simplifying the process for beginners․ ICE-30BCU features a unique flavor-duo function, allowing simultaneous preparation of two flavors․ Finally, the ICE60W provides a convenient and compact option for smaller batches․
Each model boasts a double-insulated freezer bowl, crucial for optimal freezing․ Understanding these distinctions helps select the perfect machine for your frozen yogurt, ice cream, gelato, or sorbet creations․ Consider capacity, automation features, and desired versatility when choosing․
Benefits of Making Homemade Frozen Desserts
Creating frozen desserts at home with a Cuisinart machine offers numerous advantages․ You gain complete control over ingredients, avoiding artificial flavors, colors, and excessive sugars found in store-bought options․ This is especially beneficial for dietary restrictions or preferences, like vegan or low-sugar diets․
Homemade treats allow for endless flavor customization – experiment with unique combinations! It’s a fun, rewarding activity, perfect for families․ Plus, the freshness and quality are unmatched, delivering a superior taste experience․ Enjoy the satisfaction of crafting delicious, healthy desserts!
Understanding Your Cuisinart Machine
Familiarize yourself with the components! Proper preparation of the freezing bowl is crucial for success․ Careful assembly ensures optimal performance and delicious results․
Key Components and Their Functions
The Cuisinart frozen dessert makers feature several key parts working in harmony․ The freezing bowl, typically double-walled and pre-frozen, is essential for initiating the freezing process․ A mixing paddle continuously churns the mixture, incorporating air and creating a smooth texture․ The motor base houses the motor that drives the paddle․
Lids are crucial for containing the mixture during churning and often include openings for adding ingredients․ Some models have a transparent cover allowing you to monitor the process․ Understanding each component’s role is vital for successful operation and achieving the perfect frozen consistency․ Proper care and maintenance of these parts will extend the life of your machine․
Freezing Bowl Preparation – Essential Steps
Proper freezing of the bowl is paramount for successful results․ Ensure the bowl is completely dry before placing it in the freezer; any moisture will hinder freezing․ It requires at least 24 hours of freezing time, ideally longer, at 0°F (-18°C) or lower․
Avoid refreezing a partially thawed bowl, as this can compromise its freezing capacity․ A fully frozen bowl will feel very cold to the touch; Before assembly, check for any ice crystals; these indicate sufficient freezing․ Consistent, thorough freezing guarantees optimal performance and a perfectly frozen dessert every time․
Assembly and Disassembly Instructions
Assembly begins with ensuring the frozen bowl is securely placed on the base․ Next, attach the bowl holder and then the clear lid․ The dasher, responsible for mixing, should be inserted into the lid’s opening․ Ensure it spins freely․
Disassembly is the reverse process․ Always unplug the machine before dismantling․ Remove the lid, then the dasher․ Carefully lift off the bowl holder and finally, the frozen bowl․ Handle the frozen bowl with care to avoid damage․ Proper assembly and careful disassembly ensure longevity and safe operation․

Recipes & Ingredients
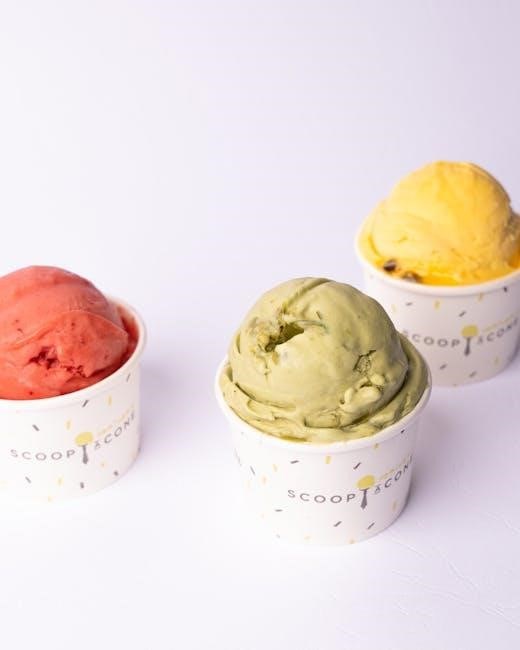
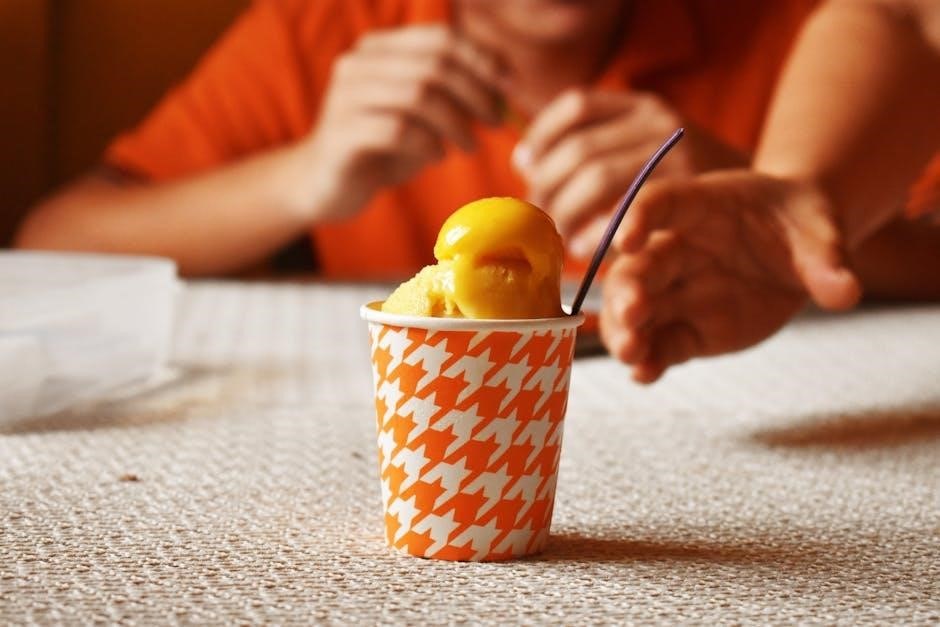
Explore basic frozen yogurt, classic ice cream, and refreshing sorbet recipes․ Ingredient quality significantly impacts the final product’s taste and texture – choose wisely!
Basic Frozen Yogurt Recipe
Creating a simple frozen yogurt is a fantastic starting point! Combine 2 cups of your favorite yogurt (Greek yogurt yields a thicker result) with ¾ cup of milk, and ¾ cup of sugar in a saucepan․ Heat gently, stirring until the sugar dissolves completely – avoid boiling․
Allow the mixture to cool thoroughly before pouring it into your pre-frozen Cuisinart freezing bowl․ Churn for approximately 20-25 minutes, or until it reaches a soft-serve consistency․ For added flavor, incorporate ½ cup of fruit puree or extracts during the last few minutes of churning․ Enjoy immediately, or freeze for a firmer texture!
Classic Ice Cream Recipe
For a timeless ice cream experience, begin with a rich custard base․ Whisk together 2 cups of heavy cream, 1 cup of whole milk, ¾ cup of sugar, and a pinch of salt in a saucepan․ Gently heat, stirring until the sugar dissolves․ In a separate bowl, whisk 4 egg yolks․ Temper the yolks by slowly drizzling in some of the warm cream mixture, then pour it back into the saucepan․
Cook over medium heat, stirring constantly, until the custard thickens enough to coat the back of a spoon․ Cool completely, then churn in your pre-frozen Cuisinart bowl for 20-25 minutes․
Refreshing Sorbet Recipe
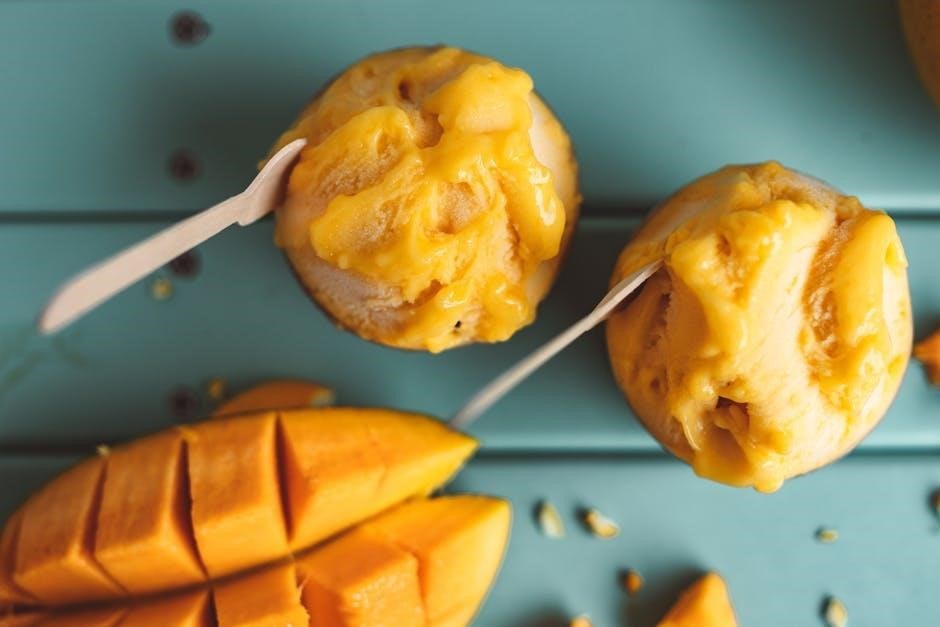
To create a vibrant sorbet, start with a simple syrup․ Combine 1 cup of water and ¾ cup of sugar in a saucepan, heating until the sugar dissolves․ Let it cool completely․ Next, blend 2 cups of your favorite fruit – berries, mango, or peaches work wonderfully – into a smooth puree․
Combine the cooled simple syrup and fruit puree․ Pour the mixture into your pre-frozen Cuisinart freezing bowl and churn for approximately 20-30 minutes, or until it reaches a slushy, sorbet-like consistency․ Enjoy a light and flavorful treat!
Ingredient Quality and Considerations
For optimal results, prioritize high-quality ingredients․ Full-fat dairy yields a creamier texture in ice cream and frozen yogurt․ Fresh fruit provides the best flavor for sorbets, though frozen fruit is a convenient alternative․
Avoid ingredients with excessive water content, as this can lead to icy results․ Using extracts instead of artificial flavorings enhances the overall taste․ Consider the sugar content; adjusting it impacts the final texture and sweetness․ Experiment with different ingredients to discover your perfect frozen dessert!

Operating Instructions
Follow these simple steps for delicious results! Properly prepare the freezing bowl, assemble the machine, and pour in your chilled mixture for perfect frozen treats․
Step-by-Step Guide to Making Ice Cream
Begin by ensuring the freezing bowl is thoroughly chilled – ideally overnight․ Prepare your ice cream base according to your chosen recipe, ensuring all ingredients are well combined and chilled before starting․ Carefully assemble the Cuisinart ice cream maker, securing the bowl and dasher․
Pour the chilled mixture into the freezing bowl, being mindful not to overfill – leave space for expansion during churning․ Power on the machine and allow it to churn for approximately 20-25 minutes, or until the mixture reaches a soft-serve consistency․
For a firmer texture, transfer the ice cream to a freezer-safe container and freeze for an additional 2-4 hours․ Enjoy your homemade creation!
Step-by-Step Guide to Making Frozen Yogurt
Start with a fully frozen bowl, chilling it overnight is crucial for optimal results․ Prepare your frozen yogurt base, combining yogurt, sweeteners, and any desired flavorings․ Ensure the mixture is well chilled before proceeding to the next step․ Assemble the Cuisinart machine, securely attaching the freezing bowl and dasher․
Pour the chilled yogurt mixture into the bowl, leaving sufficient headspace for expansion during churning․ Turn on the machine and let it churn for approximately 20-30 minutes, or until it reaches a soft-serve consistency․
Transfer to a freezer for 2-4 hours for a firmer texture․
Step-by-Step Guide to Making Sorbet
Begin by ensuring your freezing bowl is completely frozen – a minimum of 24 hours is recommended․ Prepare your sorbet base, typically consisting of fruit puree, sugar, and water․ Strain the mixture to remove any seeds or pulp for a smoother texture․ Chill the sorbet base thoroughly in the refrigerator before churning․
Assemble the Cuisinart ice cream maker, securely attaching the frozen bowl and dasher․ Pour the chilled sorbet base into the bowl, being mindful not to overfill․ Activate the machine and allow it to churn for 20-30 minutes․
Freeze for firmness․
Troubleshooting Common Issues
If your machine isn’t freezing, ensure the bowl is fully frozen․ For a thin mixture, extend churning time or refreeze․ Check motor safety features!
Machine Not Freezing – Causes and Solutions
A common frustration is a Cuisinart machine failing to freeze․ First, verify the freezing bowl is completely frozen – typically requiring 16-24 hours․ Ensure it’s level in the freezer and hasn’t been disturbed․ Secondly, confirm the mixture is adequately chilled before pouring it into the machine; room-temperature liquids hinder freezing․
If the bowl is frozen and the mixture chilled, the issue might be insufficient churning time․ Allow the machine to run for the full recommended duration․ Finally, check the motor; overheating can trigger a safety shut-off․ Let it cool before restarting․ A properly prepared bowl and chilled base are key!
Mixture Not Thickening – Adjustments Needed
If your frozen dessert isn’t thickening, several adjustments can help․ First, ensure your recipe’s ingredient ratios are correct – too much liquid prevents proper freezing․ Consider adding a stabilizer like guar gum or cornstarch (a small amount!) to improve texture․
Secondly, extend the churning time․ Some recipes require longer processing․ Finally, verify the freezing bowl is thoroughly frozen; a partially thawed bowl drastically impacts consistency․ For yogurt, higher fat content yields a thicker result․ Experiment with small adjustments to achieve the desired creamy texture!
Motor Issues and Safety Precautions
Should the motor struggle or stop, immediately unplug the machine․ Overloading the bowl with a very thick mixture is a common cause․ Allow the motor to cool down completely before attempting to restart․ Never immerse the motor housing in water!
Always ensure the unit is on a stable, level surface during operation․ Do not operate with a damaged cord or plug․ Keep hands and utensils away from moving parts while churning․ Prioritize safety – a malfunctioning unit should be professionally inspected before reuse․
Cleaning and Maintenance
Thoroughly clean all removable parts after each use with warm, soapy water․ Proper storage and preventative maintenance ensure longevity and optimal performance of your Cuisinart maker․
Proper Cleaning Procedures
After each use, immediately disassemble your Cuisinart machine․ Wash the freezing bowl, mixing blade, and lid with warm, soapy water․ Avoid abrasive cleaners, as they can damage the bowl’s non-stick coating․ The bowl must be completely dry before refreezing – moisture hinders performance․
The exterior of the machine can be wiped clean with a damp cloth․ Never immerse the motor base in water․ Ensure all parts are thoroughly rinsed and dried before reassembling․ Regular cleaning prevents buildup and maintains hygienic operation, guaranteeing delicious frozen desserts every time․ Dishwasher use is possible for some parts; consult your model’s manual․
Storage Instructions for Long-Term Use
For extended periods of non-use, ensure all Cuisinart components are completely clean and dry․ Store the freezing bowl in a freezer, even when not actively making frozen desserts, to maintain its chilling capacity․ Keep the motor base in a cool, dry place, away from direct sunlight and extreme temperatures․
Original packaging is ideal for storage, protecting the machine from dust and damage․ Avoid stacking heavy items on top․ Regularly check the bowl for any signs of moisture before use․ Proper storage preserves functionality and extends the lifespan of your Cuisinart ice cream maker․
Preventative Maintenance Tips
To ensure optimal performance, periodically inspect the Cuisinart machine for wear and tear․ Check the paddle for cracks or damage, and replace if necessary․ Always unplug the unit before cleaning or performing any maintenance․ Avoid using abrasive cleaners, as they can damage the surfaces․
Regularly wipe down the motor base with a damp cloth․ Ensure the freezing bowl is thoroughly dried before storing․ Following these simple steps will help maintain your Cuisinart maker’s efficiency and prolong its life, guaranteeing many batches of delicious frozen treats!

Advanced Techniques & Recipes
Explore custom flavors using fruit purees and extracts! Enhance creations with chocolate and nuts for exciting textures and tastes – unleash your inner chef!
Creating Custom Flavors
Unleash your creativity by experimenting with diverse flavor combinations! Don’t limit yourself to traditional recipes; the Cuisinart machine empowers you to personalize every batch․ Consider infusing your base with spices like cinnamon or cardamom for a warm, inviting twist․ Layering different fruit purees can create complex and refreshing sorbets․
For ice cream, think beyond vanilla – try coffee, lavender, or even savory herbs! Remember that alcohol can lower the freezing point, so use it sparingly․ Adjust sweetness levels to complement the chosen flavors․ Keep detailed notes of your experiments to replicate successful creations and refine future attempts․ The possibilities are truly endless!
Using Fruit Purees and Extracts
Elevate your frozen desserts with vibrant fruit purees and concentrated extracts! Purees, made from fresh or frozen fruit, deliver intense flavor and natural sweetness․ Ensure the puree is smooth to avoid icy textures․ Extracts, like vanilla or almond, provide potent flavor boosts – a little goes a long way!
When incorporating fruit, adjust the liquid content of your base recipe accordingly․ Extracts are best added towards the end of the churning process to preserve their aroma․ Experiment with combinations; raspberry puree with a hint of lemon extract is divine! Remember to balance sweetness and acidity for optimal taste․
Chocolate and Nut Add-Ins
Transform your frozen creations with decadent chocolate and crunchy nut inclusions! Mini chocolate chips, shaved chocolate, or cocoa nibs add rich flavor and texture․ For nuts, consider toasted pecans, walnuts, or almonds – toasting enhances their flavor․ Add these during the last few minutes of churning to prevent them from sinking․
Be mindful of the quantity; too many add-ins can disrupt the freezing process․ Roughly chop larger pieces for easier scooping․ A swirl of melted chocolate also creates a beautiful marbled effect․ Experiment with pairings – chocolate and peanut butter, hazelnut and dark chocolate – for unforgettable treats!

Safety Information
Always unplug the appliance before cleaning․ Never immerse the motor base in water․ Follow electrical safety guidelines to prevent shock and ensure safe operation․
Important Safety Precautions
Before operating your Cuisinart frozen dessert maker, carefully read all instructions․ To reduce the risk of fire, electric shock, or injury, always follow basic safety precautions․ Never operate the appliance with a damaged cord or plug․ Avoid using extension cords․ Ensure the machine is on a stable, level surface during operation․
Keep hands and utensils away from moving parts․ Do not attempt to disassemble the unit beyond the instructions provided․ Supervise children closely when the appliance is in use․ Never leave the machine unattended while operating․ Always unplug the appliance when not in use and before cleaning․
Electrical Safety Guidelines
To ensure safe operation, always connect the Cuisinart ice cream maker to a grounded electrical outlet with the correct voltage․ Never immerse the motor base, cord, or plug in water or other liquids․ Avoid operating the appliance with wet hands․ If the appliance malfunctions or shows signs of damage, disconnect it immediately and do not attempt repairs yourself․
Regularly inspect the power cord for any signs of damage․ Do not use the appliance if the cord is frayed or damaged․ Ensure the appliance is properly grounded to prevent electric shock․ Always unplug the unit before cleaning or performing maintenance․ Contact Cuisinart support for qualified repairs․
Warranty Information
Cuisinart typically offers a limited warranty on its frozen dessert makers, covering defects in materials and workmanship for a specified period, often one year from the date of purchase․ This warranty doesn’t cover damage resulting from misuse, accidents, or unauthorized repairs․ Proof of purchase is required for all warranty claims․
To initiate a claim, contact Cuisinart customer support․ They will guide you through the process, which may involve returning the appliance for inspection or repair․ The warranty provides options for repair or replacement at Cuisinart’s discretion․ See the official Cuisinart website for complete details․
Resources & Further Reading
Explore the Cuisinart official website for support and recipes․ Discover recipe books and online communities for inspiration, plus helpful FAQs!
Cuisinart Official Website & Support
For comprehensive assistance with your Cuisinart frozen dessert maker, the official Cuisinart website is an invaluable resource․ You’ll find detailed product manuals available for download, covering all models like the ICE-70, ICE-21, ICE-30BCU, and ICE60W․ These manuals provide crucial information on operation, safety, and maintenance․
Additionally, the website features a dedicated support section where you can access frequently asked questions (FAQs), troubleshooting guides, and contact information for customer service․ Should you encounter any issues, their support team can offer expert guidance․ Explore their recipe section for exciting new ideas to enhance your frozen treat creations!
Recipe Books and Online Communities
Expand your culinary horizons beyond the basic recipes with dedicated Cuisinart recipe books, such as “The Complete Cuisinart Homemade Frozen Yogurt, Sorbet, Gelato, Ice Cream Maker Book,” offering 100 decadent options for your 2-quart ICE-30BC model․
Furthermore, numerous online communities and forums are brimming with Cuisinart frozen dessert maker enthusiasts․ These platforms provide a space to share custom flavor combinations, troubleshooting tips, and innovative techniques․ Discover inspiration, ask questions, and connect with fellow dessert lovers to elevate your homemade frozen treat experience!
Frequently Asked Questions (FAQ)
Is your machine not freezing? Often, the simplest solution is ensuring the freezing bowl is thoroughly frozen for the required duration – typically 24 hours․ Mixture not thickening? Adjust ingredient ratios, ensuring sufficient fat content for optimal texture․
Experiencing motor issues? Always unplug the machine before inspection and refer to the safety precautions in the manual․ Remember, in 2018, the US produced 6․4 billion pounds of frozen treats! Explore online resources for further assistance and troubleshooting specific to your Cuisinart model․